Q&A hipSpace
1. What happens to my files?
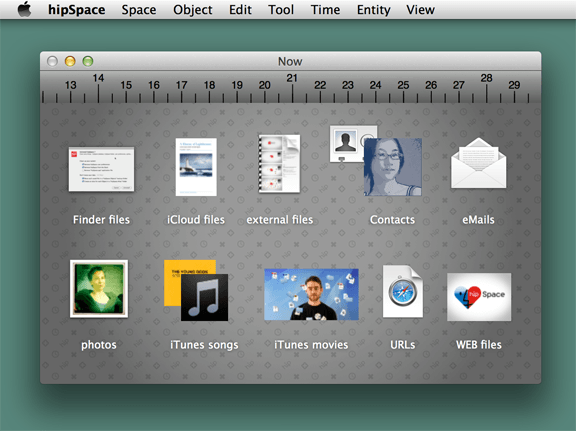
Each file added to hipSpace will be displayed as a preview, named „Object“. The file is never affected, it remains in the Finder, where it was originally located. For example, changing the title of the Object will not change the name of the file. The Object act as a reference to that file (like aliases).
You can add files to hipSpace by different ways: you can drag&drop or copy&paste the files, you can use the ‚+‘ button of the Toolbar or the „Add Objects…“ menu. The default behavior always creates references, even if the file is located in an external device, like an USB key or an external hard disk.
You can also drag&drop or copy&paste pictures from iPhoto, songs or videos from iTunes, contacts, emails, bookmarks, apps, …, without changing anything in your system.
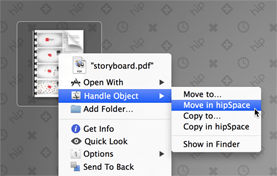
When files or images are dropped or pasted from a web browser, they are downloaded and stored in hipSpace internal directory. The submenu „Object / Handle Objects / Move to…“ lets you move the file into your own folder.
2. Where are the Objects stored?
hipSpace defines three kinds of Object locations:
- Objects held by the system

(files, contacts, emails…) - Objects held by hipSpace

(web files…) - Objects held by external
devices
(USB key, hard disk)
You can change the location of an Object with „Object / Handle Objects“ menu:
3. What the „hipSpace folder“ does it do?
The hipSpace folder, visible in the sidebar of the Finder windows, allows you to save files directly into hipSpace.
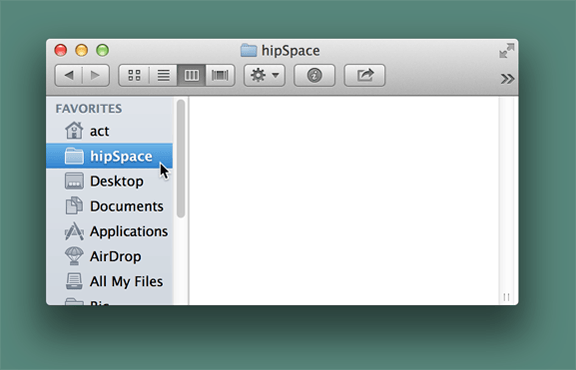
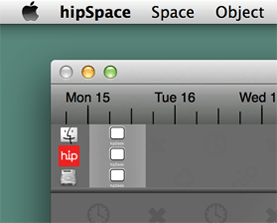
Selecting the hipSpace folder to save a new document edited from another application, will create a new Object which appears at the bottom left of the hipSpace area. In the same manner, a new Object is created if you move or copy a file into the hipSpace folder.
The files in the hipSpace folder are then automatically moved and stored in hipSpace internal directory, thus the hipSpace folder remains empty.
4. What happens if my file Objects are renamed or moved?
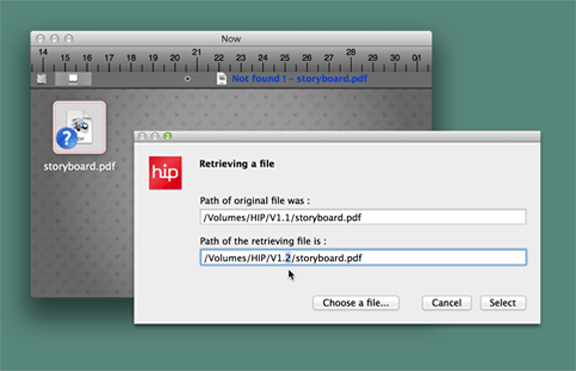
You are free to rename and move files that are represented by Objects, hipSpace is able to follow them. In some circumstances it is possible that hipSpace loses the original path of a file Object. In this case, a question mark is displayed above the Object. If you try to open that Object, a panel will appear, giving you the opportunity to retrieve the file:
5. I no longer wish to use hipSpace, how do I do?
We respect your decision, so hipSpace offers a clean and safe solution to uninstall the application. Choose the menu „hipSpace / Quit & Uninstall hipSpace…“ then the above panel will appear:
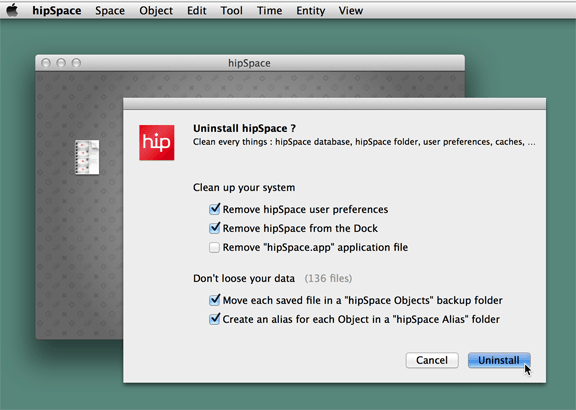
All Objects held by hipSpace (Q&A 2.) will be saved in the folder of your choice. You may also move all Objects held by hipSpace into the Finder, using the „Object / Handle Objects / Move to…“ menu, and then proceed to uninstall.
You can also uninstall the application after a training period. Restarting hipSpace, you will immediately restore the free Trial License of two full months.
6. Can I use hipSpace without a License?
hipSpace runs in two modes:
- the FULL MODE provides access to all functions,
- the READ MODE is entitled to all functions except that it prevents the addition of new Objects.
Acquiring a License allows you to run hipSpace in FULL MODE, but the updates are always free, using the menu „hipSpace / Check for Updates…“.
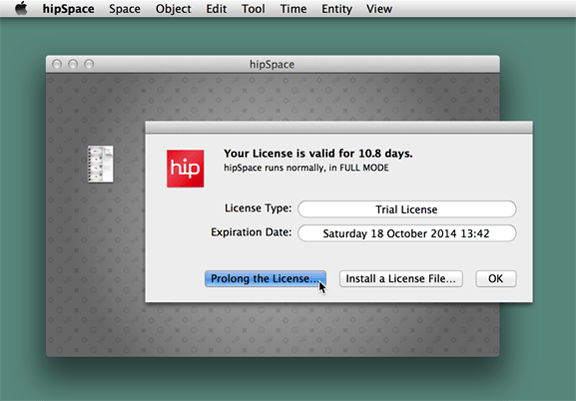
The purchase and installation of a License is performed by the „hipSpace / License…“ menu and pressing the „Prolong the License“ button:
